
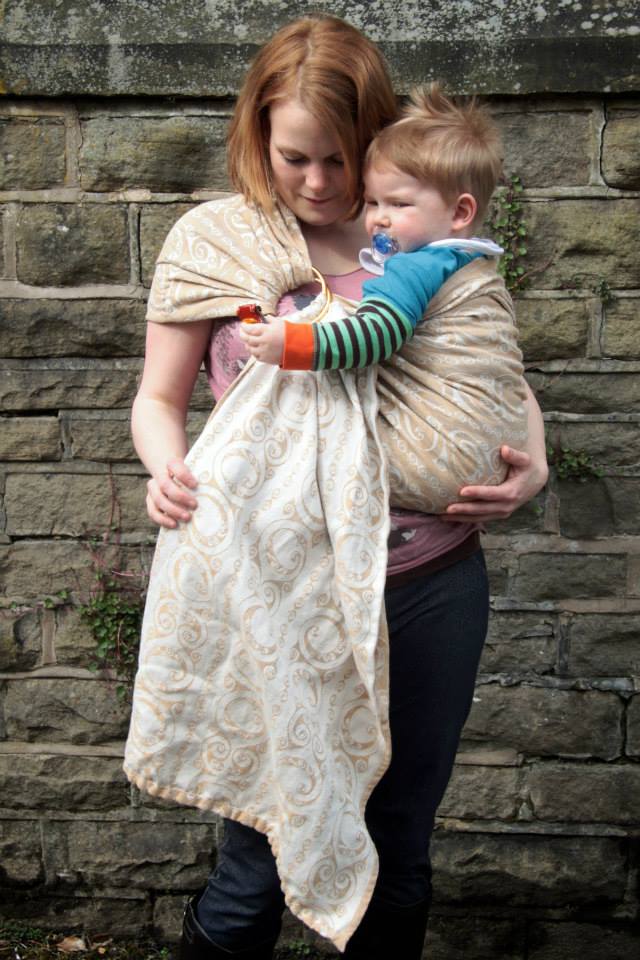
I love ring slings. Whether I am carrying a small baby or an up and down toddler. But they can take some skill and perseverance to get them right. Small tweaks and tips will help make them so much easier to use. This blog isn’t going to go into specifics of shoulder styles and fabric as but focus on the technical bits which can be used with any ring sling.
The Rings!
As ring slings are adjusted and locked in place by their rings, it is important to focus on them. They should not be made from welded rings and should be specifically made for this purpose. They can be made from aluminium or nylon. Welded rings can break where they have been joined.
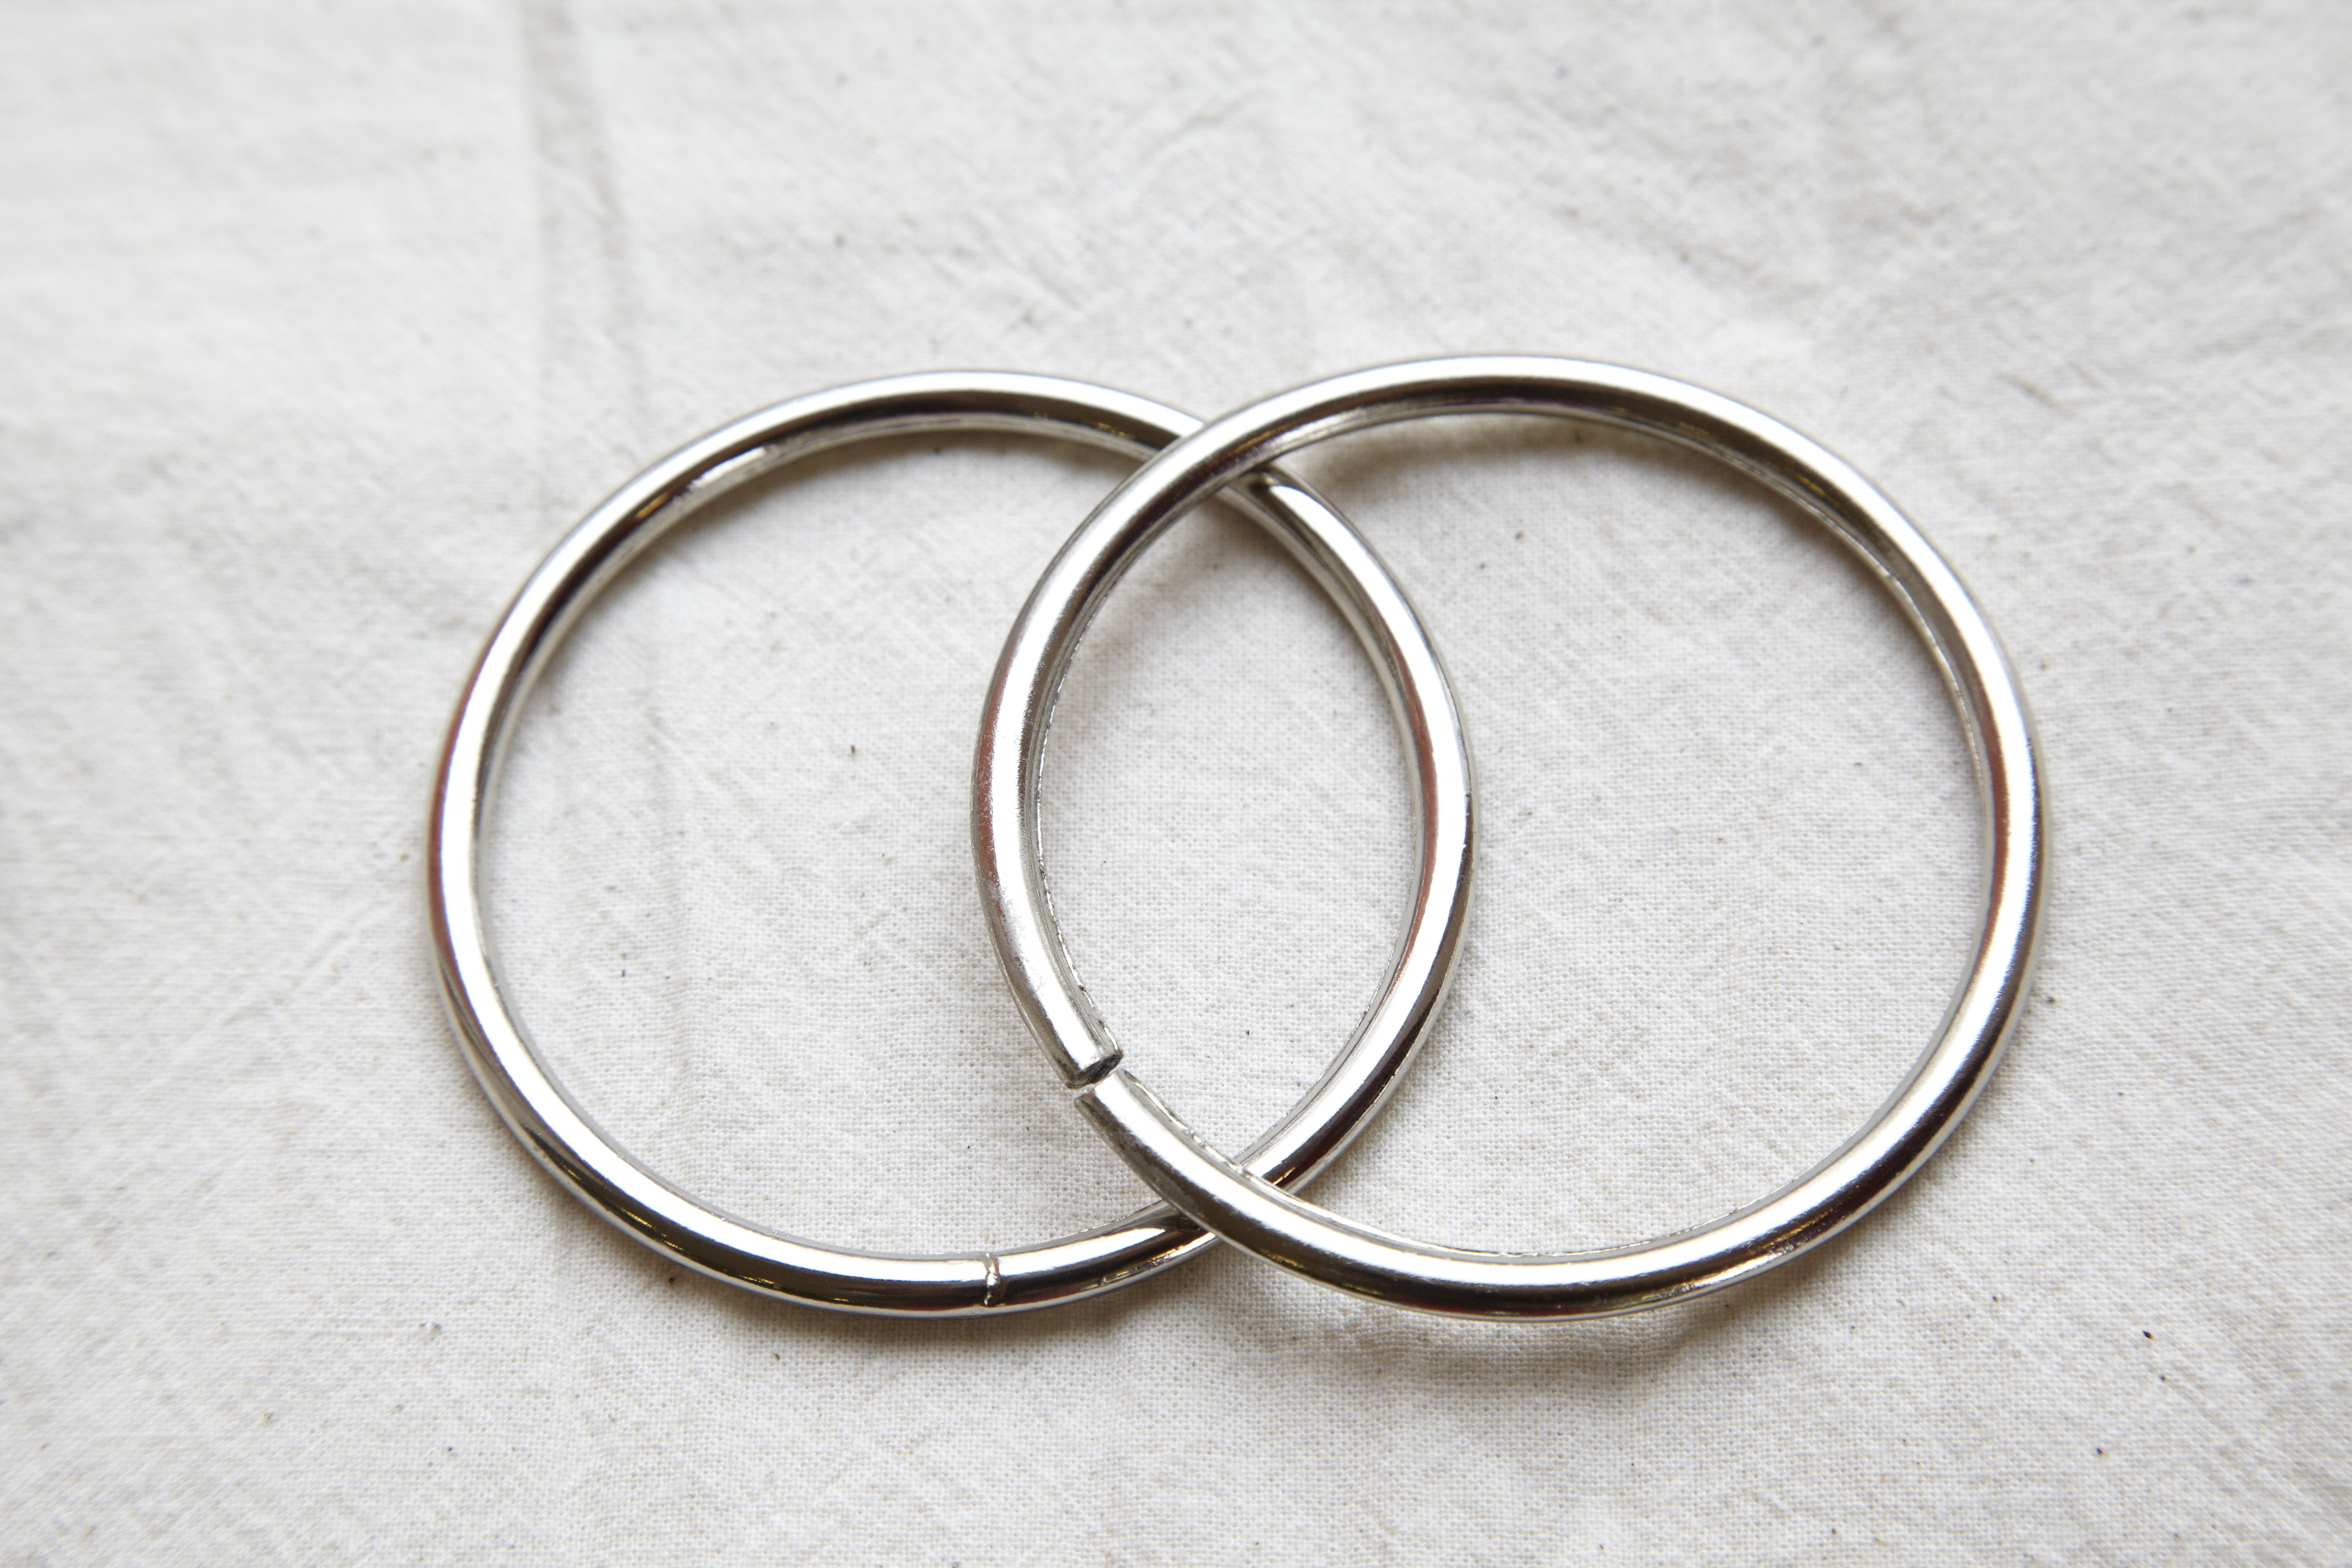
Welded rings – can you see the break?
Preparing the sling for baby
Place the rings on the shoulder opposite the hip you want to carry baby on, or for chest to chest carrying the shoulder you feel most comfortable. Ideally you will switch shoulders each time you carry. The weight of the ring will help keep them sat on your shoulder. Bring the tail to opposite side. At this point check you are not twisted by holding rings in one hand and top rail in the other before pulling the fabric across your back. It should move only at the top.
To thread a ring sling you take the tail (unstitched part) and thread it through both rings from the bottom up, before threading back through one. Ensuring you keep fabric neat and untwisted at all stages will help make it easier to tighten. While you are learning slings with differing colour top and bottom rails will help make this easier too. I personally take the tail up onto my shoulder before threading through second ring so I can see any twists.

 (Photos by NESL)
When you have threaded through both rings take your thumbs underneath the fabric between rings and spread from middle to rails again ensuring you are not twisted.

With thanks to Rosie @Sheffield Sling Surgery
Once threaded the top rail and bottom rails should match and there should be no twists. Loosen the top rail by pulling fabric back through rings to create space to put baby in. Tighten the bottom rail so it is snug against you. The majority of work done tightening the bottom rail should be done before you place baby in, not after.
Putting baby in the sling
Once the preparatory work is completed it is time to put your child in the sling. Do not rush this point. You do not want to undo the hardwork you have done in preparing the sling.
Supporting babies weight with one hand under his bottom, use the other to reach up from bottom of pouch to find his feet and guide him in.

Let him sit on the unspread pouch before bringing fabric up his back. At this point check where rings have dropped to. If too low lift babies weight and reposition the rings before letting baby sit on unspread pouch again.

With thanks to Wrapamore
Before spreading ensure the fabric is in both knee pits and that babies bottom is lower than their knees.

Keeping on hand on babies bottom bring fabric over their back. For a small baby the top rail should come up to their neck. Tightening a ring sling it is made easier by having the slack brought as close to the rings as possible. Ensure all slack is brought to the rings on both top and bottom rails.


Direction of tightening
Once the ring sling is threaded, baby has been seated in it and the fabric spread over their back it is time to tighten it. The fact the tail hangs towards to floor makes it logical to think you need to tighten by pulling the fabric in this direction, you do not. It is also common for people to take the tail as a rope and pull on it all in one go. Fabric is not a rope and has thousands of individual threads which should be adjusted separately.

Tightening any sling requires the fabric to be taken to the tightening system. In this case the rings. Then this slack needs to be removed in the direction it came from. The round shape of a sling ring makes can make it difficult for us to think about straight lines and where to adjust. When working with parents I often talk about how a sling ring is like the sun. Its rays go in straight lines from several points. A sling ring is no different. I have taken a sling ring and drawn straight lines out from several points to illustrate.


You will need to tighten the top, middle and bottom of the ring sling, in fact anywhere there is slack. The most slack is likely to be on top rail where we loosened the pouch to get baby in. The least slack will be on the bottom rail which we had pre-tightened. When tightening you must lift and support babies weight with one hand to remove the effect of gravity pulling their weight to the floor. By lifting their weight you will find it much easier to tighten. Then adjust the parts of ring sling where there is slack (top, middle, bottom) by taking it in the direction it came from. You may need to repeat this several times in order to remove all slack.

Support babies weight underneath their bottom

Remove slack working from top rail to bottom but pulling in direction fabric came from

Support the weight of baby at all times with hand, wrist or forearm
With thanks to Sheffield Sling Surgery – image featuring Kiri of Carry ar Kid
Here you can see the top rail is nice and snug against baby, his natural curves are maintained in a j-shape and fabric is in knee pits. He is in a sitting position with a tilted pelvis and the fabric hammocked between his legs.

