
The Short Cross Carry with a sling ring (sometimes referred to as a Front Cross Carry with a ring) was my go to carry with a shorter wrap with Isaac from around 3-8 months. I liked that it was a “poppable” carry and can be achieved with a shorter wrap. The sling ring acts as a lock so carry is a knotless one too. I wanted to write this blog as a photo tutorial. There are hundreds of wrapping videos but I know that videos do not work for everyone.
Stage One – Preparing the wrap
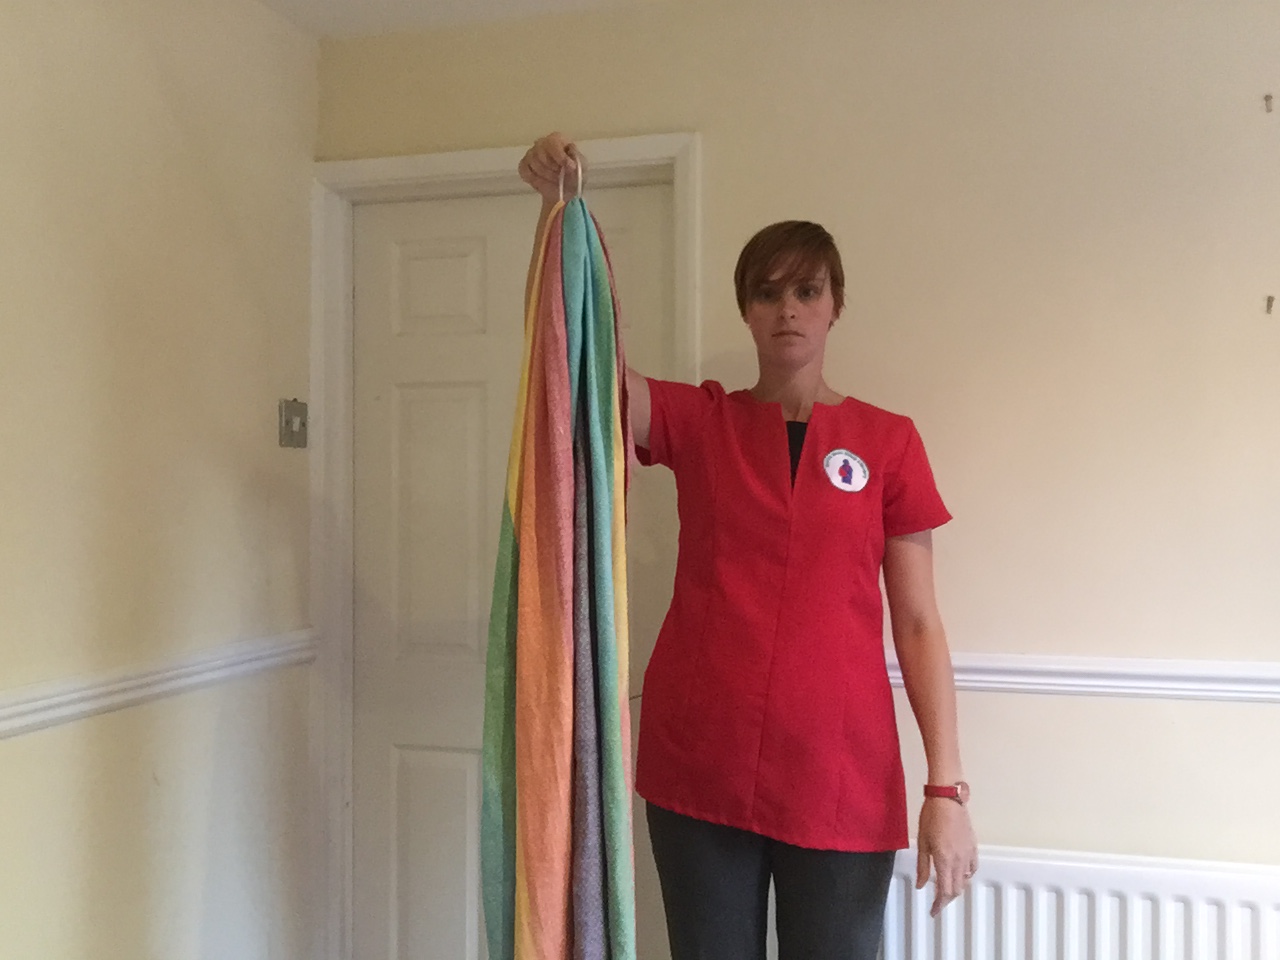
Thread the sling ring over one end of the wrap until it is in the middle of the wrap. When the sling ring is in the middle take time to pleat the fabric through the rings to neaten the fabric. This will help prevent the wrap from twisting and help ensure a neat looking carry.

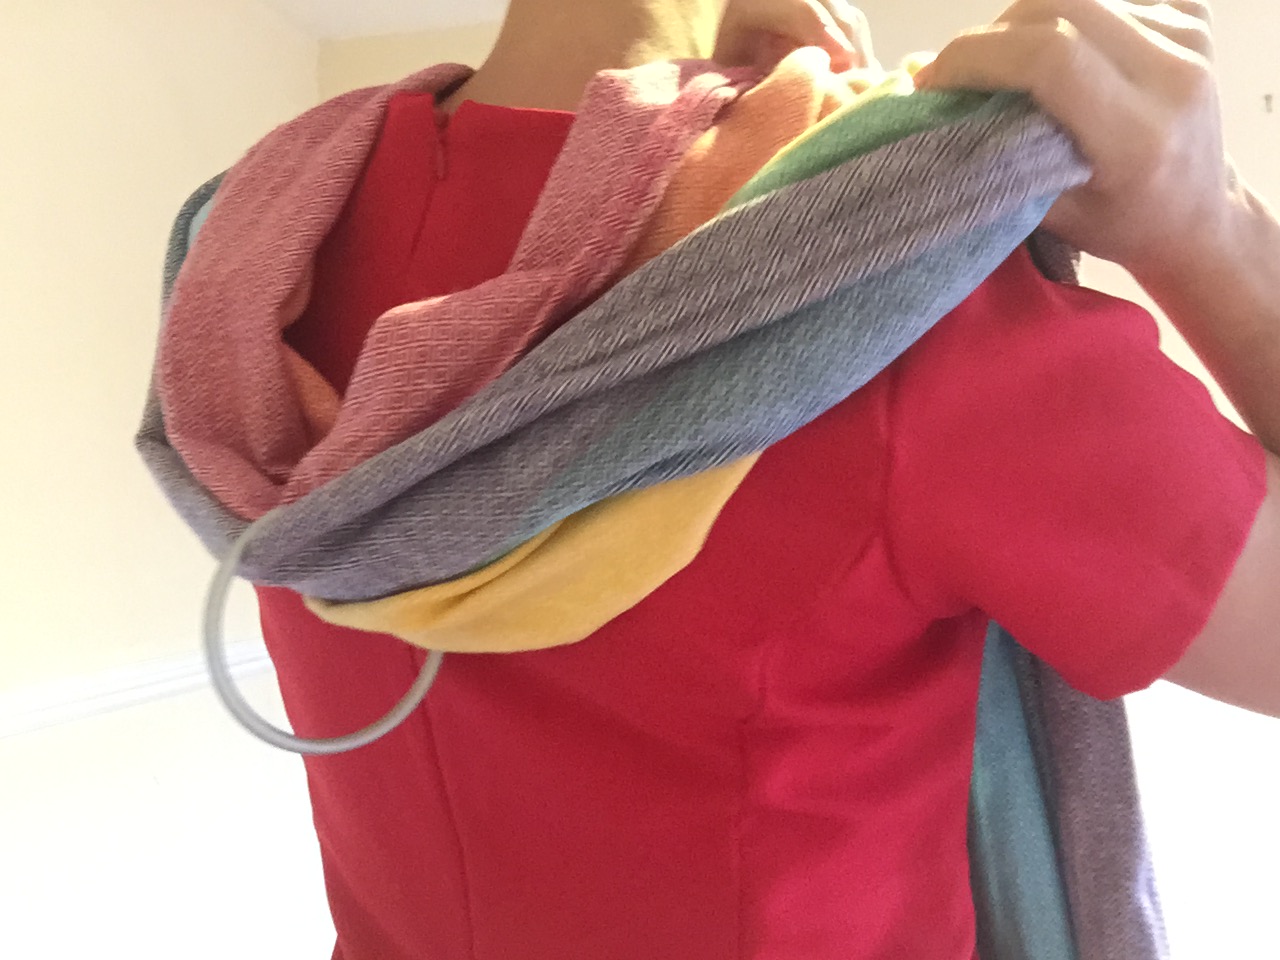
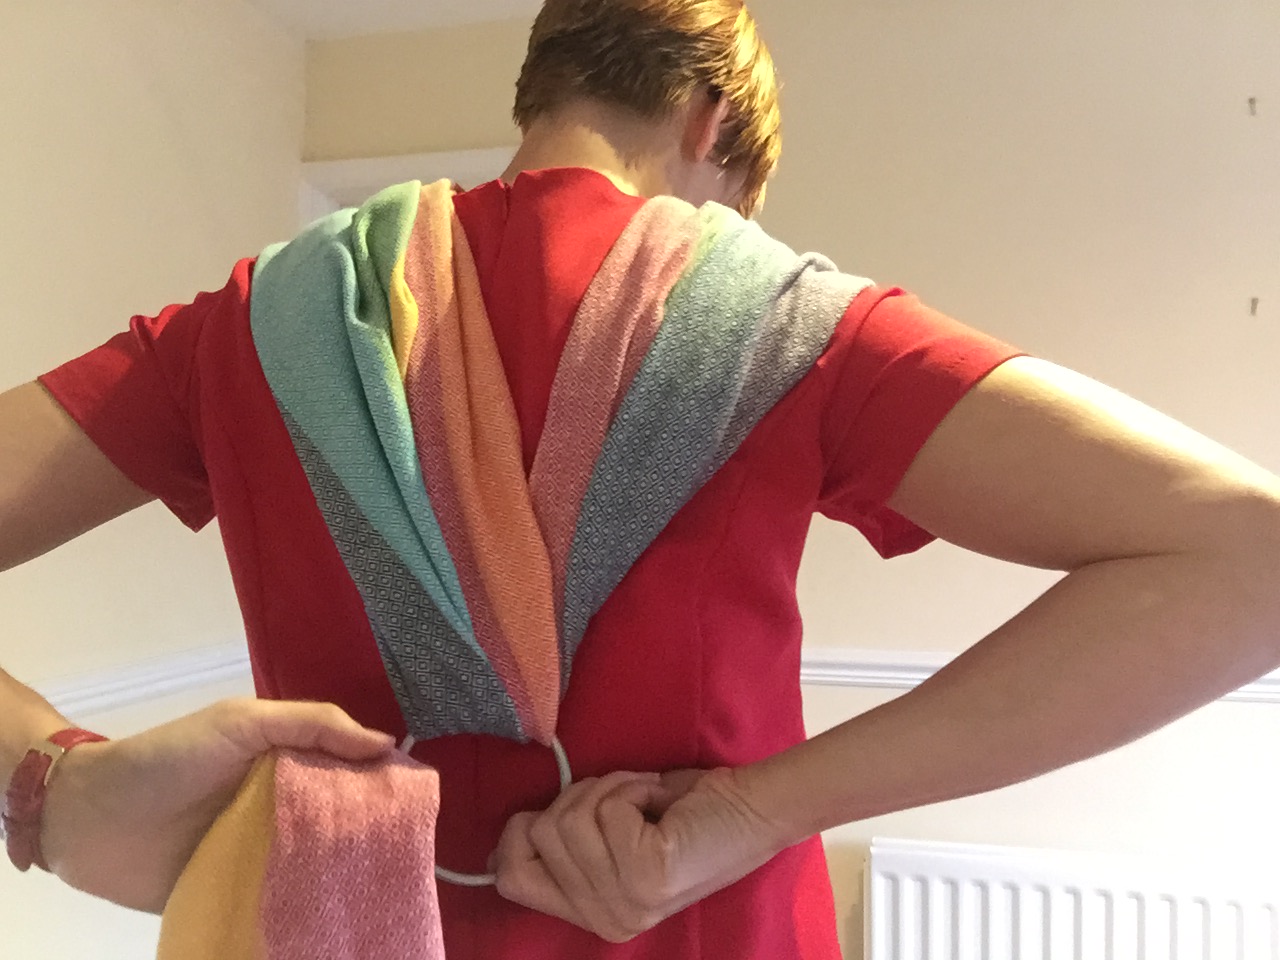
Next, loop the fabric over your shoulders so that the ring is placed in the centre of your back. Again, tidy the wrap by gathering and then cross tails.


Holding the sling ring to keep it flat use the other hand to take first wrap pass and take it over the top of sling ring before going through and pull down towards the floor so that you have a 90o angle. Before repeating this with the second pass. This takes some practise to get the ring to stay flat. If you don’t achieve it the carry will not be knotless as wrap will move freely in ring.

Once again tidy both passes so they are smooth and not twisted. Tighten your bottom rail. The bottom rail is the part of the sling which is in the middle as it comes out of rings.

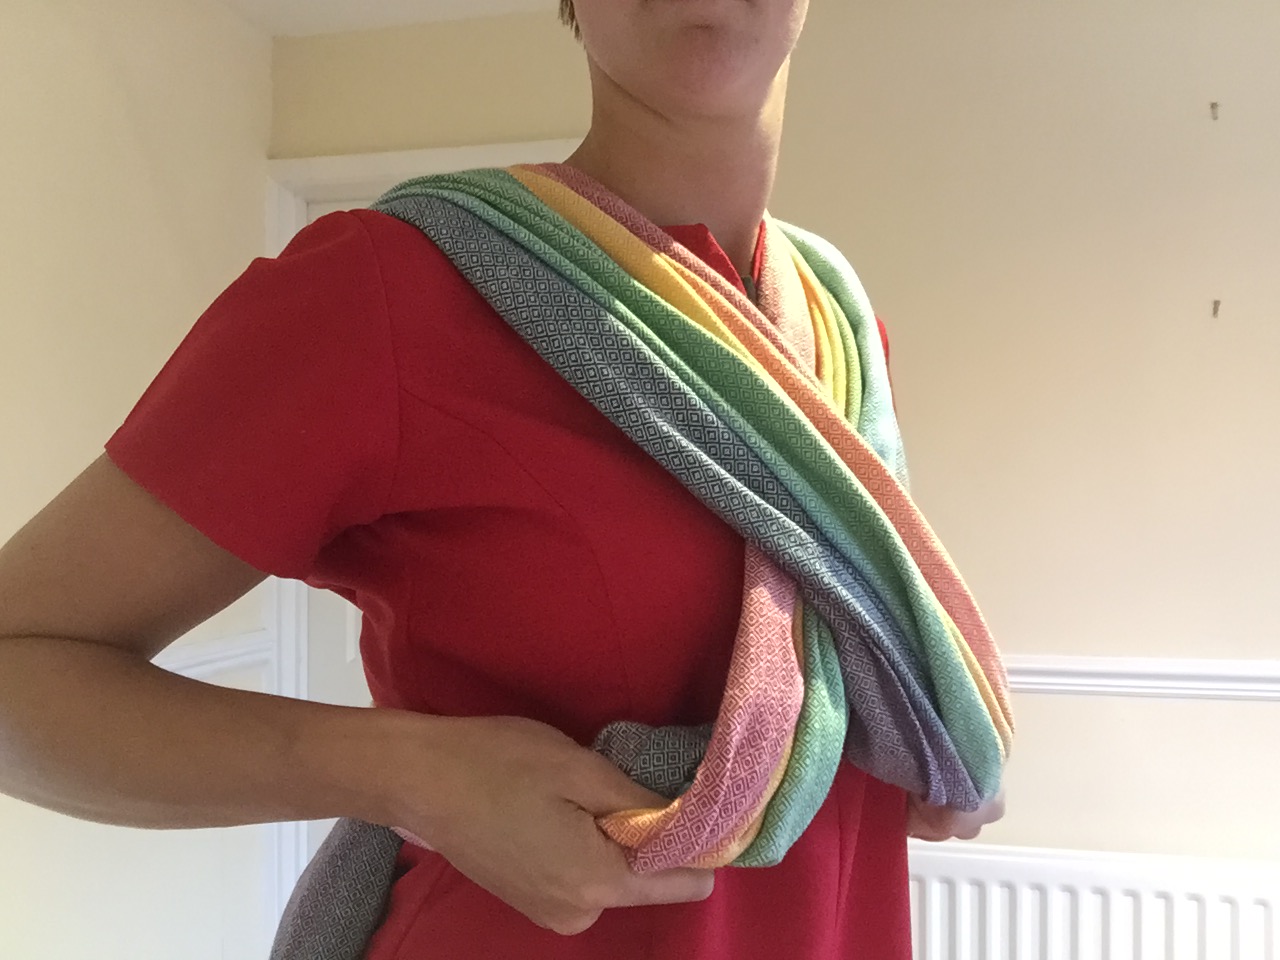
Find the positon where you are most comfortable in having the sling ring by lifting the fabric from shoulders and moving it up and down.
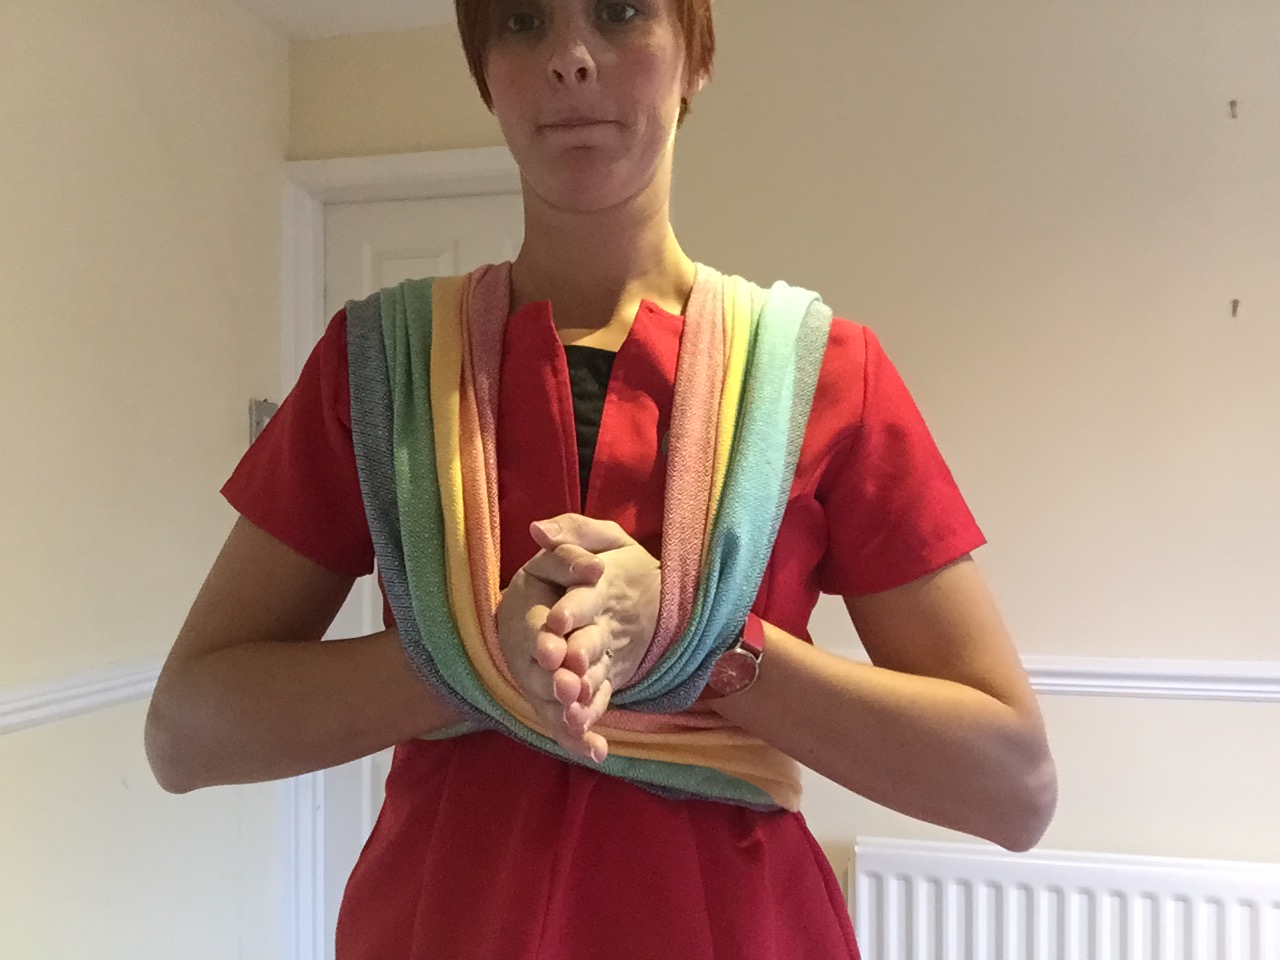
Create slack and space for baby by pulling fabric back through ring. Be careful not to introduce too much slack. You want just enough space to put baby in. Thread excess slack back over shoulders and through ring. Use praying hands to double check you have enough space for your baby.
Stage Two – Putting baby in the wrap
Pick up your baby and place on the shoulder of the top pass so that first underneath pass is visible and accessible.

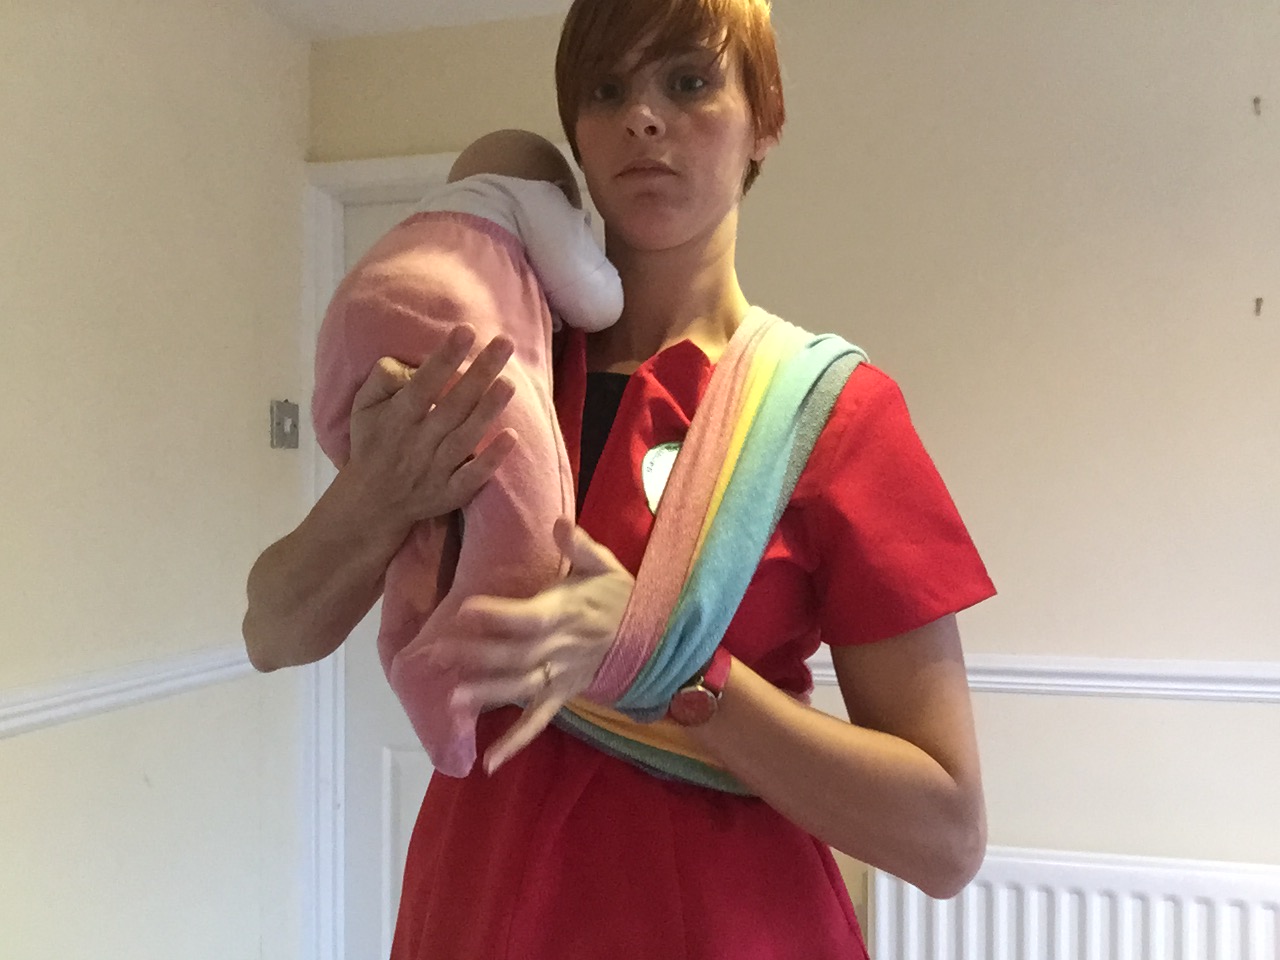
From the bottom of underneath pass, reach up and find babies foot and bring this through the pass. Ensure the fabric is in their knee pit.

Lean forward slightly and move baby to other shoulder and swap supporting hands. Then bring babies foot through as per last step. Let the wrap take babies weight with them sitting on the cross passes to allow their bottom to drop lower than their knees.

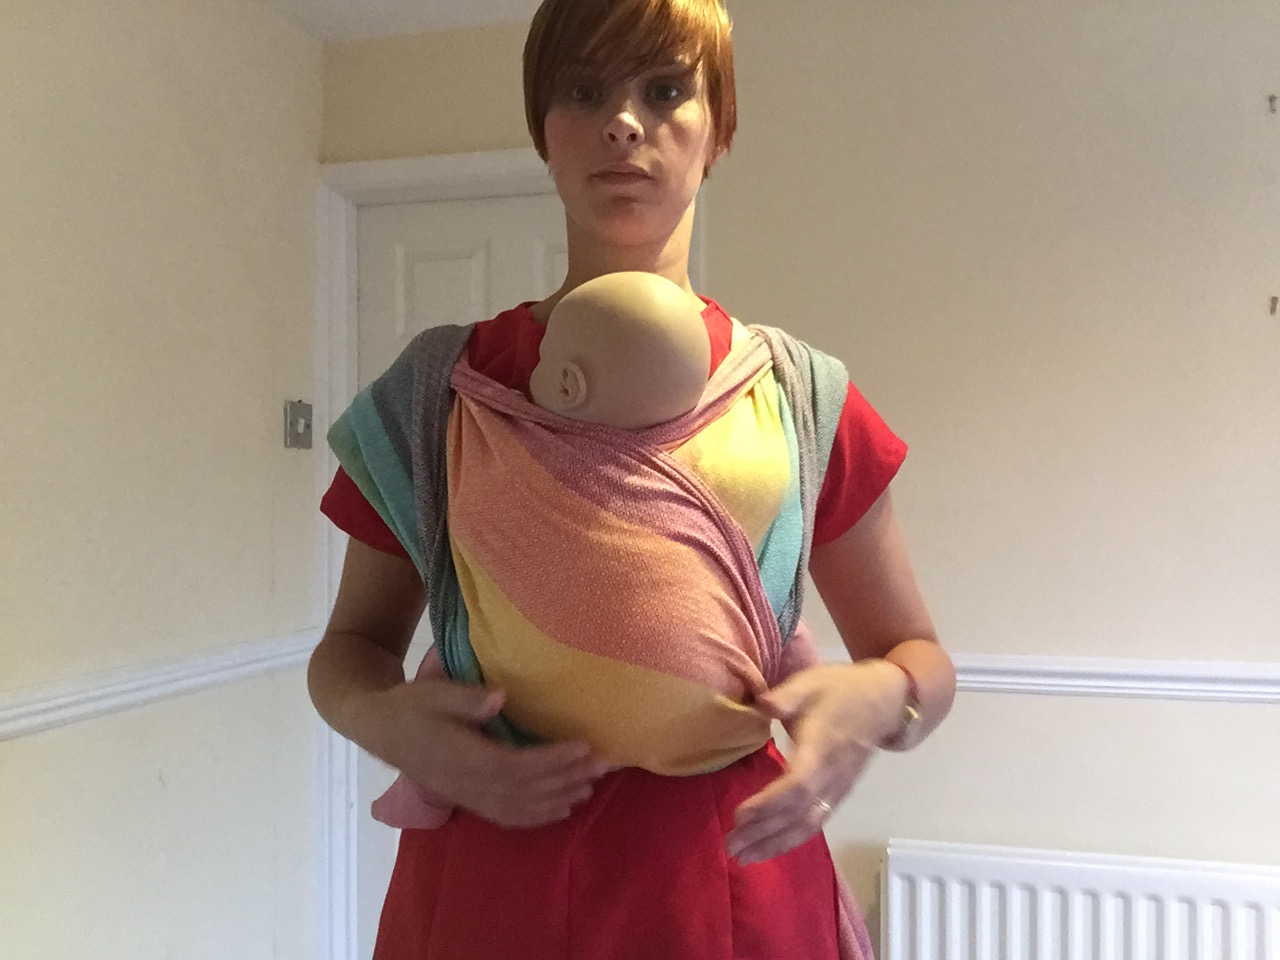
Supporting baby underneath their bottom using the hand of the top pass, use free hand to spread the bottom pass until your supporting hand is covered. Place free hand on babies bottom and then slide covered hand out from under the fabric and complete pulling across babies back.


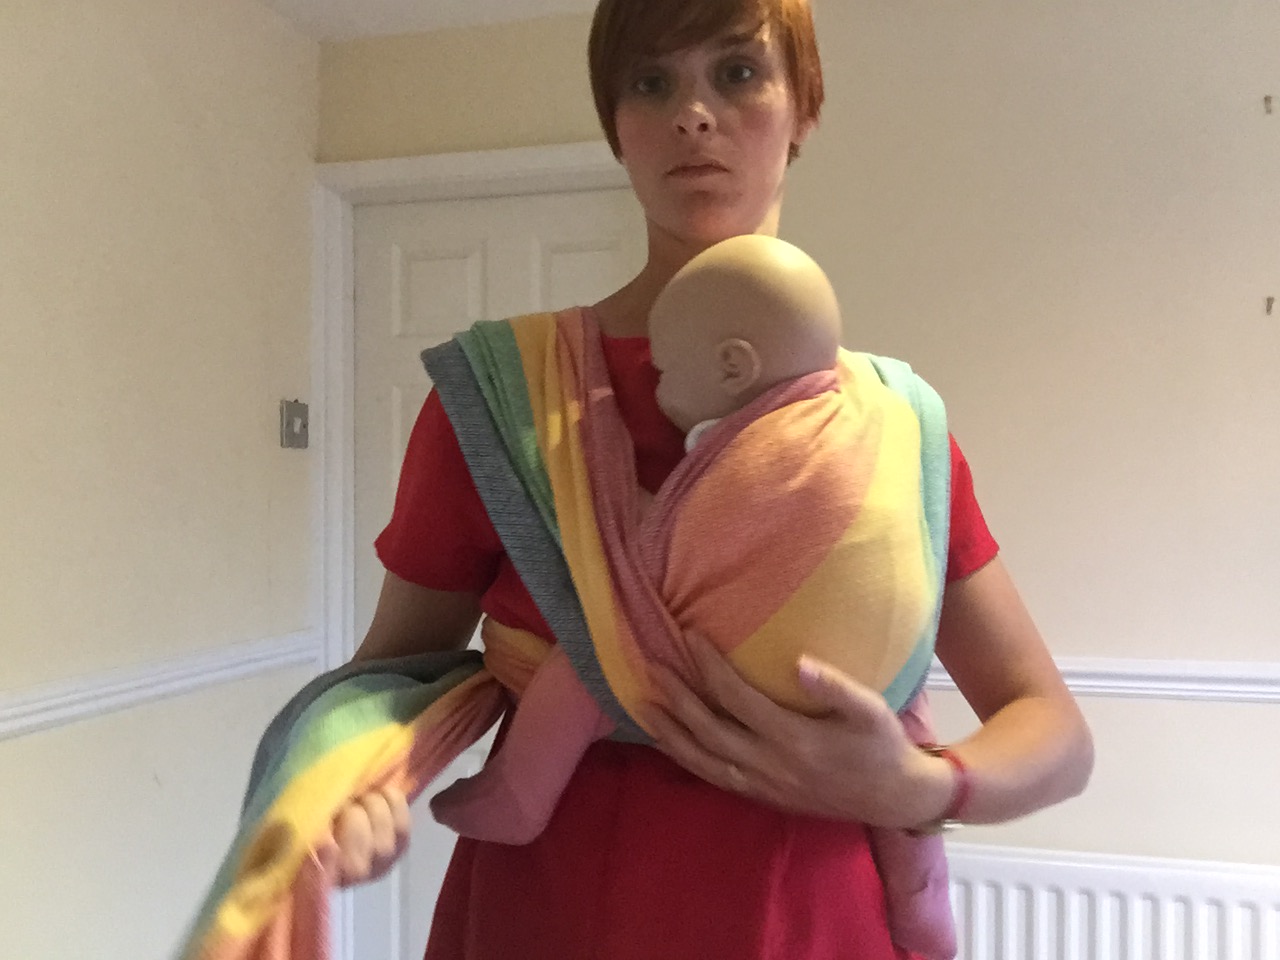
Remove excess slack by supporting babies weight and working strand by strand across width of wrap. When slack has been gathered up feed this towards ring by leaning forwards (while supporting baby) to pull slack through the ring. As this is a carry with a cross pass the slack goes under the opposite leg to the shoulder it came over initially. Then pull the slack through ring by pulling on the tails.
Supporting baby underneath their bottom using the hand of the bottom pass, use free hand to spread the top pass until your supporting hand is covered. Place free hand on babies bottom and then slide covered hand out from under the fabric and complete pulling across babies back.
Finally tighten strand by strand and work to rings. The carry is now completed.

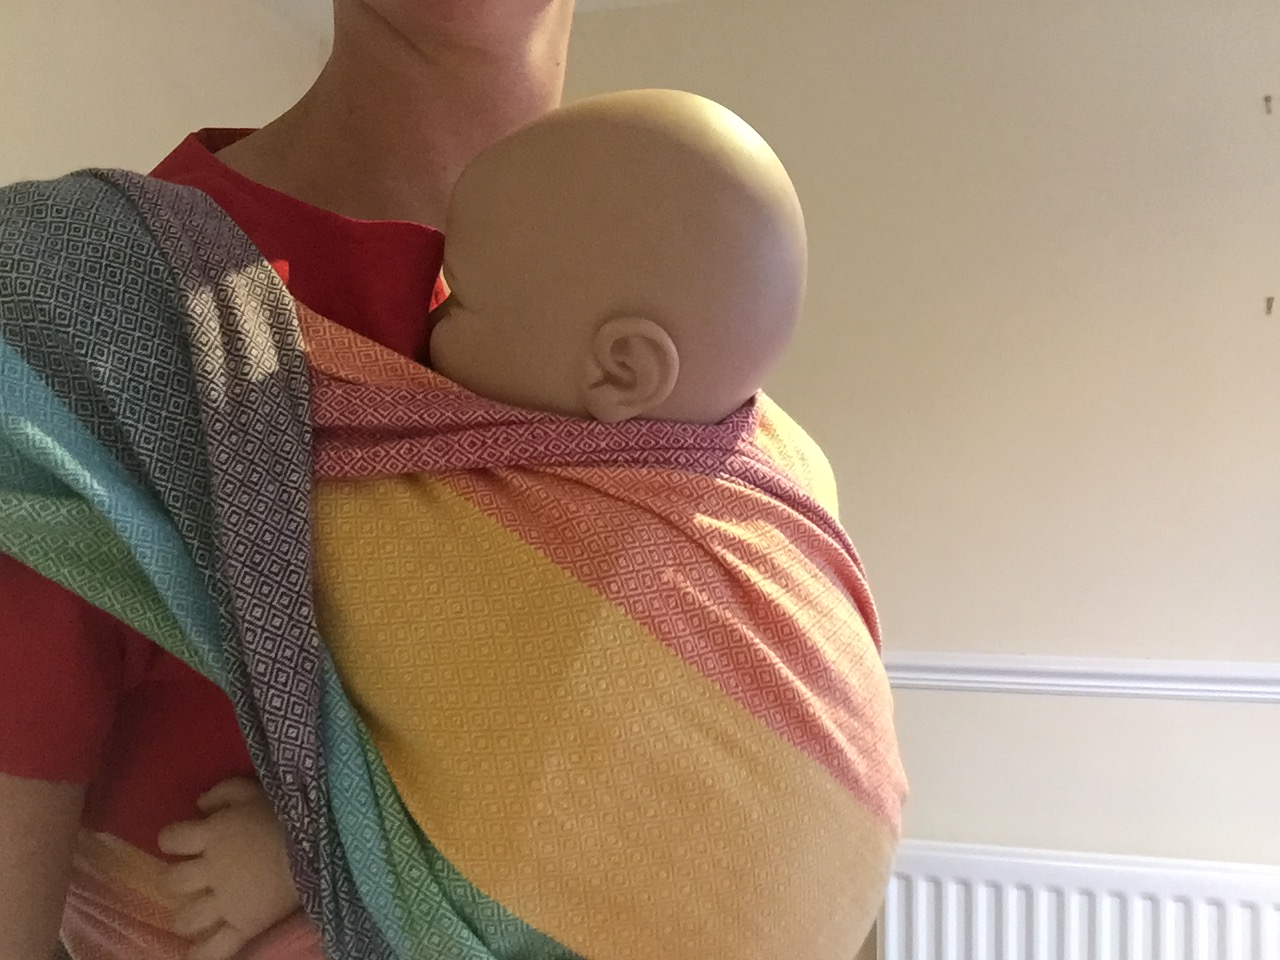
At this point our final checks are that their airway is clear (you can flip shoulder to keep them visible), that they hands are up near their mouth, fabric is in knee pits and their pelvis is tilted. Check that fabric is smooth on their spine and that you are comfortable too.

Stage Three – Removing baby from the wrap
Remove shoulder flip if you have included one, then un peel the top pass and then the bottom pass so that baby is sat on (and still supported by) the cross pass. Supporting babies back when the wrap is not covering them gently lift them out of wrap.
